How to Frame a Window Step by Step Guide for Perfect Results

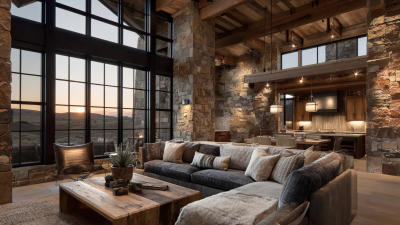
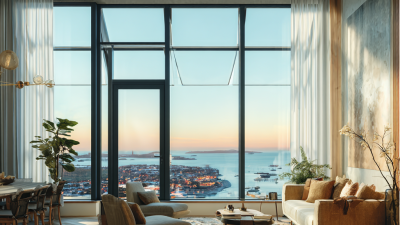
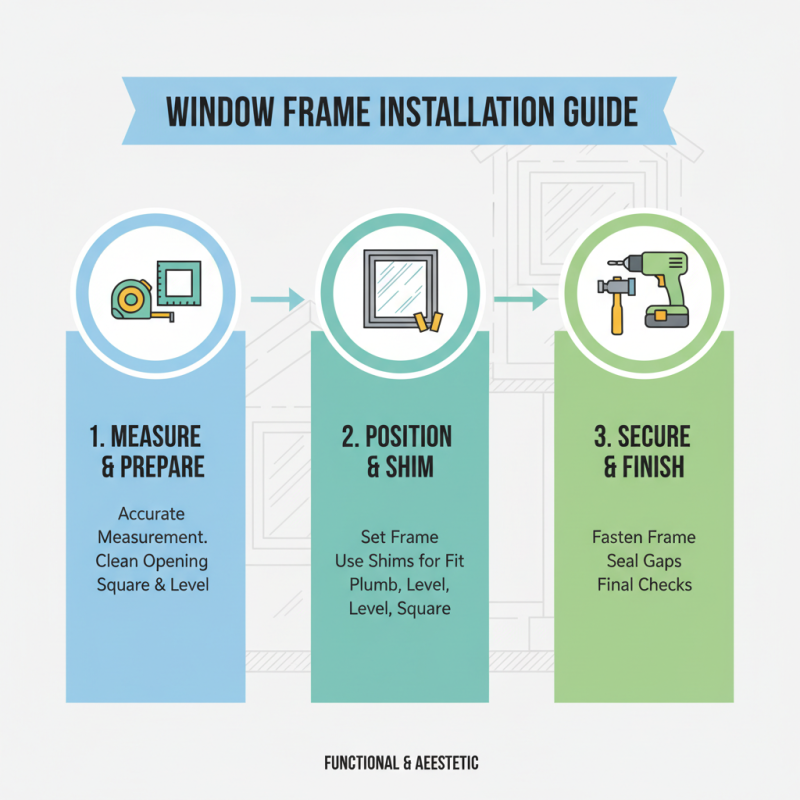
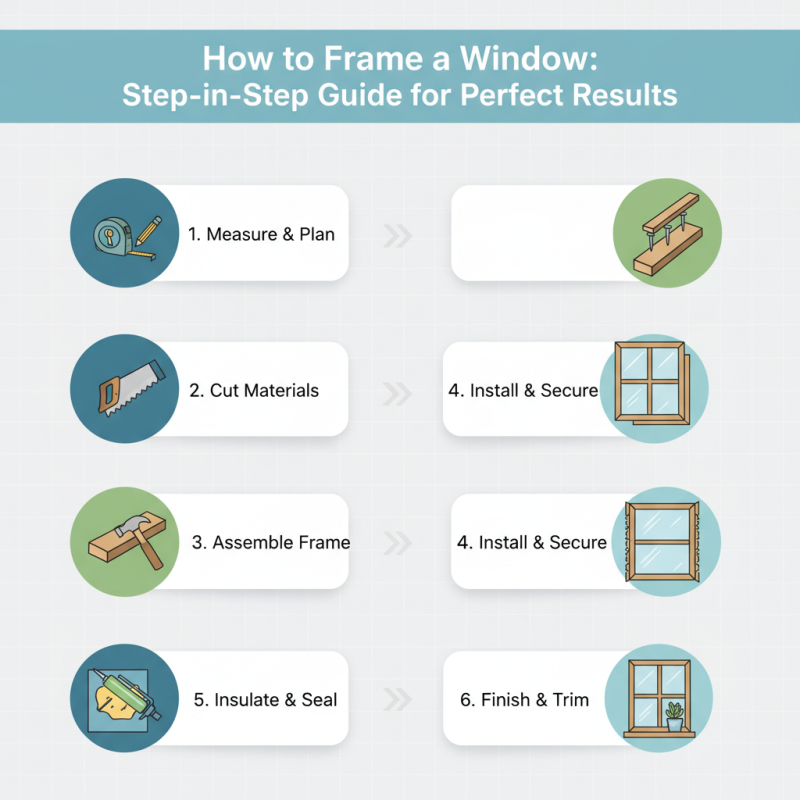
Framing a window is an essential skill that not only enhances the aesthetic appeal of a space but also ensures structural stability and energy efficiency. Whether you are replacing an old window or installing a new one, understanding the proper techniques and steps involved is crucial for achieving perfect results. Window framing involves more than just the physical support of the glass; it encompasses the alignment, insulation, and sealing that protect your home from the elements.

In this step-by-step guide, we will walk you through the entire process of framing a window, providing you with detailed instructions and practical tips to accomplish the task with confidence. From measuring and cutting materials to securing the frame and applying finishing touches, we will cover all aspects of window framing to help you create a professional-looking installation. Properly framed windows not only improve the overall look of your home but also contribute to energy conservation and temperature regulation. Get ready to transform your living space with expertly framed windows that will stand the test of time.

How to Frame a Window Step by Step Guide for Perfect Results

Selecting the Right Materials for Window Framing

Selecting the right materials for window framing is crucial to ensure durability, insulation, and aesthetic appeal. One of the most common materials used is wood, known for its natural insulating properties and versatility in design. According to a report by the National Association of Home Builders, wood frames are preferred by 46% of homeowners, primarily due to their affordability and ease of customization. However, wood requires regular maintenance to prevent rot and warping, which can be a disadvantage in areas with high humidity or temperature fluctuations.

Alternatively, vinyl has gained popularity due to its low maintenance requirements and energy efficiency. The U.S. Department of Energy reports that vinyl-framed windows can reduce energy consumption in homes by 20-30%, making them an eco-friendly option. Additionally, vinyl frames are resistant to moisture and do not require painting, which appeals to homeowners seeking a hassle-free solution. Moreover, aluminum frames are also widely used in modern construction and are favored for their strength and slim profiles, although they can conduct heat, making thermal breaks essential for energy efficiency.

Ultimately, the choice of framing material should be based on climate considerations, maintenance preferences, and architectural style. Homeowners are encouraged to evaluate these factors carefully, supported by industry insights, to achieve not only aesthetic satisfaction but also optimal performance in their window installations.

How to Frame a Window Step by Step Guide for Perfect Results - Selecting the Right Materials for Window Framing

Material Type Durability Cost (per square foot) Energy Efficiency Maintenance Level
Vinyl High $2.50 Good Low
Wood Moderate $3.50 Excellent Moderate
Aluminum High $5.00 Fair Low
Fiberglass Very High $4.50 Excellent Low

Measuring and Planning for Accurate Window Frame Dimensions

When framing a window, one of the most critical steps is measuring and planning to ensure accurate dimensions. Start by gathering the necessary tools: a tape measure, pencil, level, and square. Measure the width and height of the window opening from several points, recording the smallest measurement to account for any irregularities in the structure. It's also essential to measure the depth, as this will affect the size of the frame and how it fits with the surrounding wall.


After obtaining your measurements, create a detailed plan for cutting the frame pieces. It’s important to sketch out your design, noting the dimensions of each component, including the top, bottom, and side pieces. This will allow you to visualize the final product and catch any potential errors before you cut the materials. Additionally, consider the type of frame you will be using, as various styles may require different dimensions or assembly methods. Proper planning will not only streamline your process but also contribute to achieving a professional finish for your window frame.

Step-by-Step Assembly of the Window Frame Components

Assembling the components of a window frame is an essential step in achieving a well-finished and functional window. Begin by gathering all necessary materials, which typically include frame pieces, glazing, and fasteners. Start with the main horizontal and vertical pieces, ensuring they are cut to the correct dimensions according to your desired window size. Lay the pieces out on a flat surface to visualize the frame's structure and make adjustments if necessary.

Next, proceed to connect the frame components using screws or corner brackets for added stability. It’s crucial to ensure that the corners are square, using a carpenter's square to verify alignment. If you're incorporating any glass or screening, remember to create a recess for it within the frame. Once the framework is assembled, secure all joints tightly and check for any gaps that could affect the overall integrity of the window. Complete your assembly by sanding any rough edges and applying a protective finish to enhance durability and appearance.

Proper Techniques for Installing the Window Frame

How to Frame a Window Step by Step Guide for Perfect Results

When installing a window frame, proper techniques are crucial to ensuring that the frame is both functional and aesthetically pleasing. Begin by measuring the window opening accurately, taking into account any adjustments needed for leveling and squaring. Preparing the rough opening is essential; it should be clean and free of debris. If the opening isn’t square, you may need to make modifications to the surrounding material to achieve a proper fit. Use shims to adjust the frame during installation, ensuring it is plumb, level, and square before securing it in place.

Once the frame is positioned correctly, it's time to secure it using screws or nails, depending on the type of frame and materials used. Make sure to fasten the frame to the wall studs to provide stability. Apply a good quality sealant around the edges between the frame and the wall to prevent air and water leaks. Finally, once the frame is installed, check for any gaps or unevenness, and use caulk to fill in any spaces for a clean, finished look. This meticulous approach not only enhances the window's performance but also contributes to the overall aesthetic of the space.

Finishing Touches: Sealing and Painting Your Window Frame

When you’ve successfully framed your window, the finishing touches are essential to ensure not only an aesthetic appeal but also durability and protection against the elements. Sealing your window frame is a crucial step that prevents air leaks, moisture intrusion, and potential damage over time. Begin by applying a high-quality caulk around the perimeter of the frame, filling in any gaps or spaces meticulously. Choose a caulk that matches the material of your frame, whether it's wood, vinyl, or aluminum, for the best adherence and finish. Ensure the surface is clean and dry before application, and smooth the caulk with a finger or tool for a seamless look.

Once the caulk has cured, it’s time to paint your window frame. Selecting the right type of paint is vital, as exterior frames require weather-resistant options, while interior frames may vary based on your decor. Start by applying a primer to help the paint adhere better and enhance the durability of the final coat. After the primer dries, apply at least two coats of paint, allowing adequate drying time in between. Using a brush or sprayer can create a smooth finish, bringing out the best in your crafted window frame. Don’t forget to paint any trim or accent pieces to tie the whole look together, ensuring your new window not only functions beautifully but also complements your home’s style.

Window Frame Finishing Process: Sealing and Painting Analysis